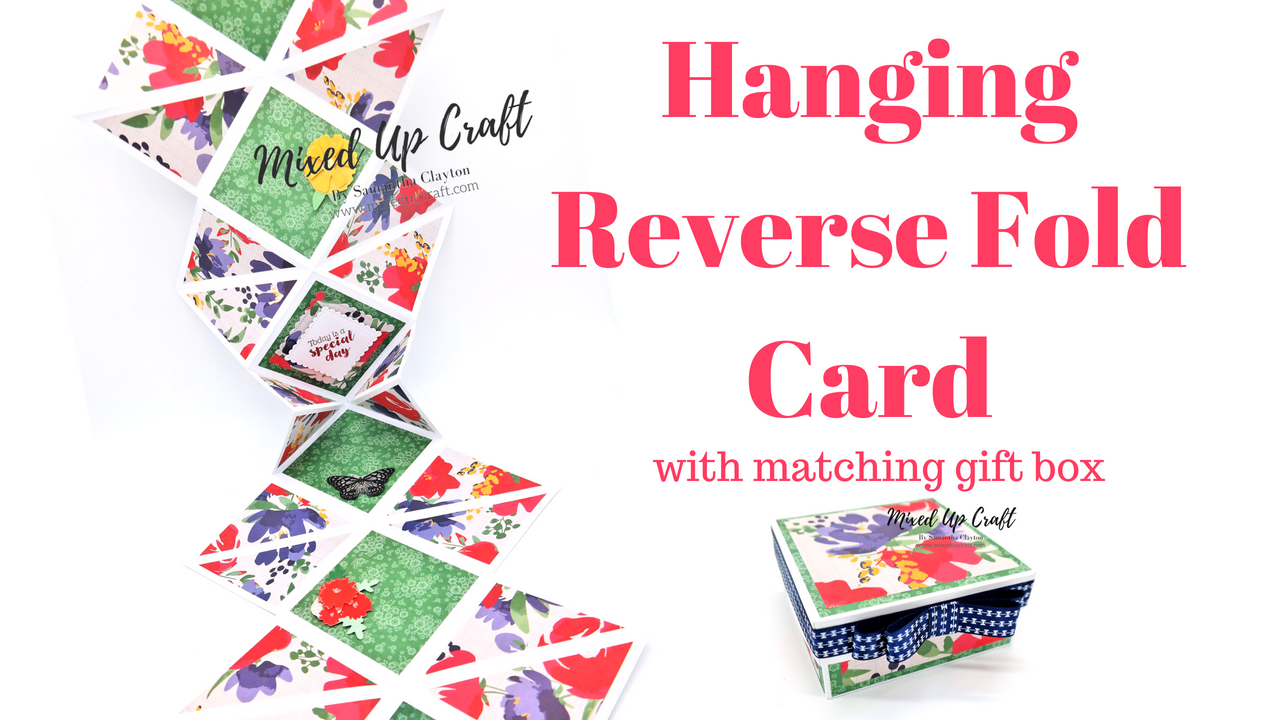
Hi everyone, I have made this rather large card using the basic Origami Reverse Fold.

This can be made as large or small as you like.
I used 5 sheets of 8 x 8 cardstock for this one.

I used the gorgeous “Wild Flowers” collection from Rosie’s Studio who I have recently come across and now love. Here’s their Facebook page for you to check out the collections. I’ve been told they are working on a new online store.

With just some simple score lines the whole card folds neatly into this 4 x 4 reinforced gift box.
It was really hard to photograph so I’ve made this quick video showing you how it looks and fits in the box.
I added chipboard to the top and bottom to give it a better structure and weigh it down and also popped a metal corner protector on the very end to give it a more finished look.
To make this card you will need…
7 pieces of 8 x 8 cardstock, keep 2 of these to one side as they will be used for your gift box.
You need to score the remaining 5 pieces at 4″ on both sides so to form a cross through your card, then turn it to a diamond shape orientation and score from corner to corner. Repeat that on all 5 pieces.
2 pieces of 3.7/8 x 3./7/8 chipboard for your top and bottom. This is optional but I do think it helps with weighing it down and giving it a more finished look.
2 pieces of 5″ x 5″ pattern paper to cover your chipboard.
6 pieces of 3.1/2 x 3.1/2 pattern paper to stick to the 6 squares running through the middle of your card.
10 pieces of 3.1/4 x 3.1/4 pattern paper to decorate your triangles on both sides. You need to cut these pieces from corner to corner, giving you 20 triangles.
Take the two other 8 x 8 pieces of cardstock To make the lid you need to score one at 7/8 on all 4 sides and then pull the card out slightly from your scoreboard and score at 1.7/8 & 6.1/4 then rotate the card and repeat the last 2 score lines.
For the base, score the other piece at 1.7/8 on all 4 sides.
Ribbon to decorate your gift box and also for the hook.
1 metal corner protector, again optional. Mine is 18mm x 4mm
Check out my full tutorial below to see how I made it.
I still need to decorate it more but I didn’t want to give away who I was making it for.

You can also decorate the back but because mine is intended to be hung I just decorated the one side. These also make great scrapbooking gifts as you can add photos to the squares etc.

It’s a big project but as I mention in my tutorial, perfect for those special birthdays.
Have a wonderful weekend and happy crafting.
Sam
xoxo

You must be logged in to post a comment.