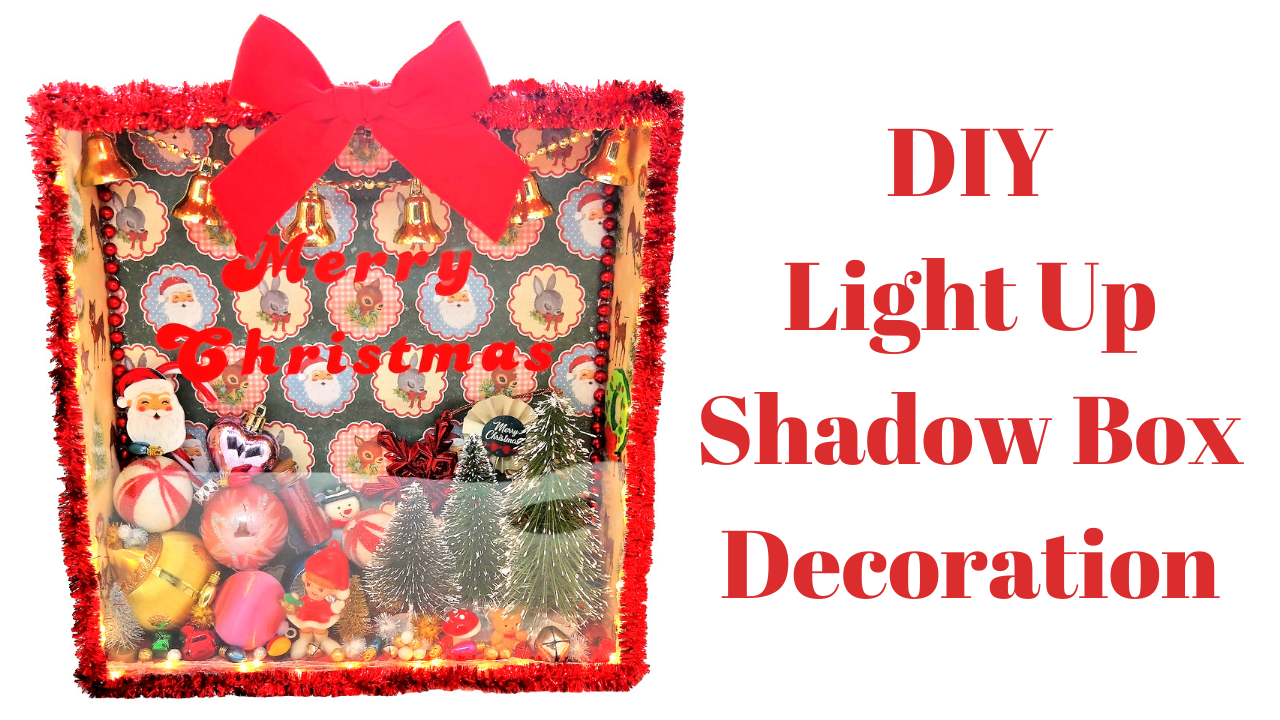
Hey friends, today I’m sharing this very festive light up shadow box decoration.
I had made this for myself and didn’t plan on doing a tutorial, however, my sister came over and saw mine and loved it so much that she asked if I would make her one!

I have made these before, I love collecting old vintage decorations and this is a great way to display them.

This measures 12″ x 12″ x 3″ and can hold a lot!

You can fill them with anything you want and these can be done for many occasions, they make great keepsake gifts.

The lights are optional, but it does look great when it’s all lit up.
You don’t have to have the acetate either, as long as everything is secured well, it looks lovely open as well.

I cut the ‘Merry Christmas’ using my Cricut and some Arteza Self Adhesive Vinyl.

SUPPLIES USED TO MAKE THESE
White foam board available here.
Acetate sheets available here.
Arteza Self Adhesive Vinyl available here.
Arteza Triangular Ruler available here.
Arteza cutting knife set available here.
MEASUREMENTS NEEDED TO MAKE THESE
1 piece of 12″ x 12″ foam board.
2 pieces of 3″ x 12″ foam board.
2 pieces of 3″ x 11.3/8 foam board.
1 piece of 12″ x 12″ acetate.
2 pieces of 12″ x 12″ pattern paper to cover both sides of the foam board.
2 pieces of 6.1/2 x 12″ pattern paper to decorate 2 of the side pieces.
2 pieces of 6.1/2 x 11.3/8 pattern paper to decorate the other 2 slightly shorter sides.
Check out my full tutorial below.
I hope you like today’s project, I plan on making an Easter themed one next, in a different size.
Thank you for stopping by today
Have a great week
Sam
xoxo
You must be logged in to post a comment.