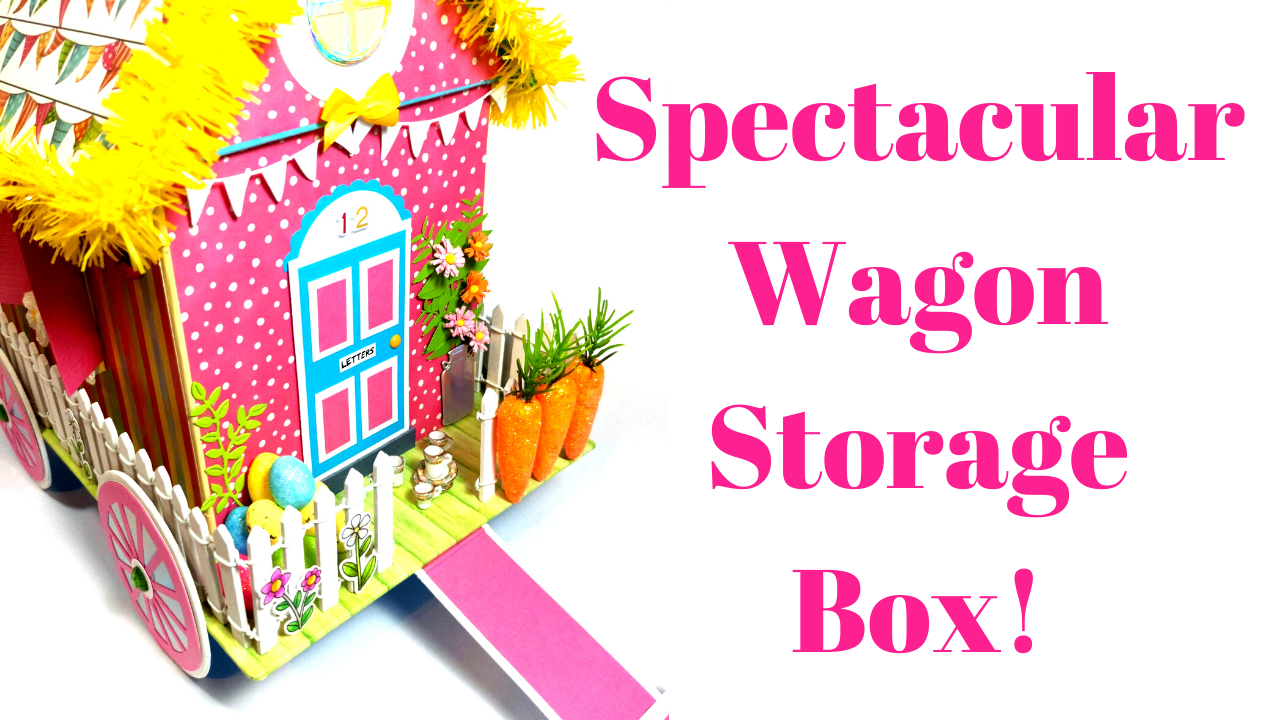
Hello friends, I recently shared this wonderful storage idea in the shape of a Wagon!

It was a labour of love and something I really enjoyed designing and putting together.

Die-cutting all the different elements and adding all the little details was fun, and, as always I totally went over the top and crazy with my colours!

As this is a storage box, I made sure that there was plenty of space, so not only does it look good but it’s practical too.

How cute is this window!

and the Wagon wheel detail finishes it off perfectly.

SUPPLIES USED TO MAKE THIS
Helz Cuppleditch Beach Life 12 x 12 paper pad available here.
A3 2mm Greyboard available here.
Card Making Magic Window die available here.
Card Making Magic Additions dies available here.
Hobbycraft Picket Fence available here.
Simply Made Crafts Milk Carton dies available here.
Here is the Wagon wheel image I used to cut on my cutting machine. I cut mine at 3″ diameter.

MEASUREMENTS NEEDED TO MAKE THIS
1 piece of 7″ x 11″ 2mm greyboard for the main base.
12″ x 12″ pattern paper to cover the main base.
2 pieces of 5.1/2 x 6″ 2mm greyboard for the front and back of the box.
2 pieces of 5.3/8 x 6″ pattern paper to cover the front and back and 2 pieces of 5.1/4 x just under 6″ pattern paper to cover the insides of the front and back pieces.
2 pieces of 9″ x 5″ 2mm greyboard for the roof.
4 pieces of pattern paper to cover both sides of the roof.
2 pieces of 6.1/4 x 3.1/2 2mm greyboard for the sides of the roof.
4 pieces of 6″ x 3.1/8 pattern paper to cover the front and back sides of the roof.
1 piece of 5.1/2 x 8″ 2mm greyboard for the base.
1 piece of 5.1/4 x 7.7/8 pattern paper to cover the inside base.
2 pieces of 6″ x 8″ 2mm greyboard for the sides.
2 pieces of 6″ x 8″ pattern paper to cover these side pieces and 2 pieces of 5.7/8 x 7.7/8 pattern paper to cover the inside of these pieces.
FOR THE HINGES
8 pieces of 2″ x 6″ paper for the 4 corners of the box.
4 pieces of 2″ x 7″ paper.
6 pieces of 2″ x 5.1/2 paper for the top shorter sides of the box.
6 pieces of 8″ x 2″ paper for the long sides of the box.
4 pieces of 2″ x 9 paper for the roof.
4 pieces of 2″ x 5″ paper for the sides of the roof.
1 piece of card for the door, decorate the rest as you desire.
4 diameter pieces of 2mm greyboard for the wheels.
Check out my full tutorial below to see how I made it.

I adore the mini tea set outside the front.

Well, I hope you have enjoyed this big project, and I look forward to seeing your versions.
Happy crafting
Sam
xoxo

You must be logged in to post a comment.