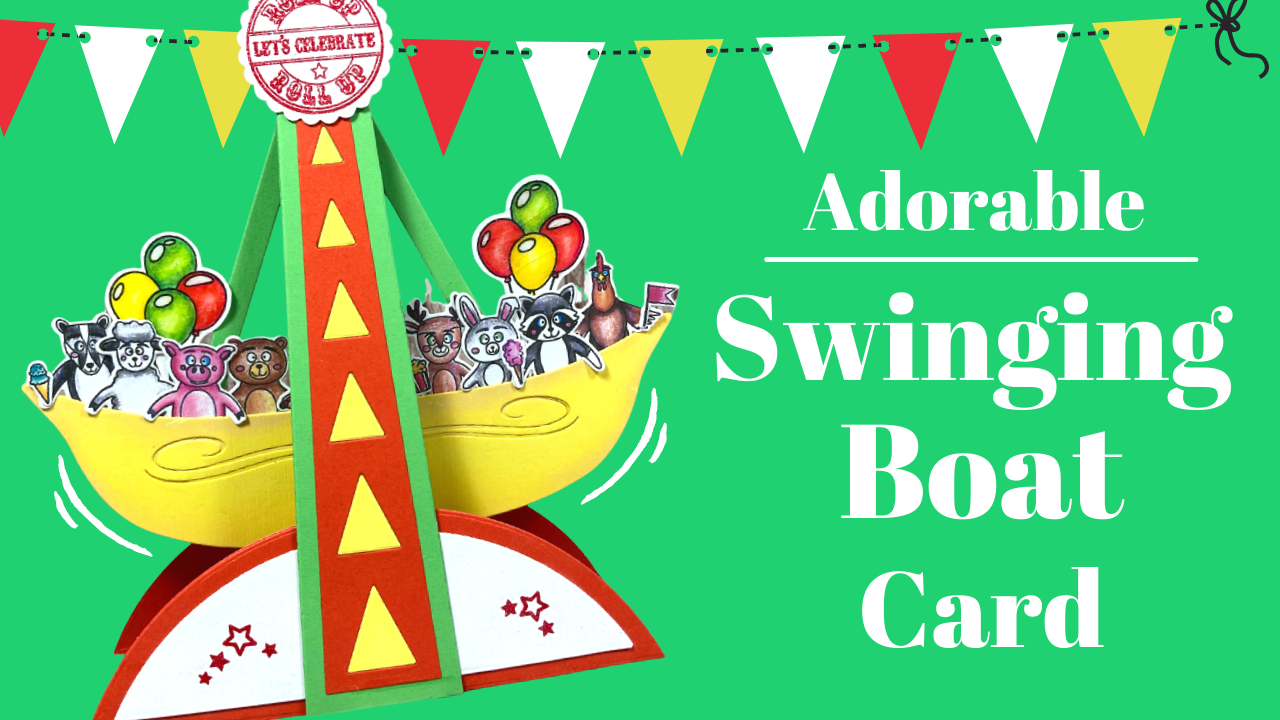
Hi everyone, today I’m sharing these adorable Swinging Boat Cards made using dies from my new Fun at the Fair collection available from Craft Stash here.

I think this is my favourite of the 3 rides, this particular ride brings back some lovely childhood memories for me and makes me smile every time I look at it.

Like the others, this card folds flat and will fit into an envelope.

You can build up as many animals as you like as long as you balance them on both side.

As always there is space on the back to write your message.

Please find below a step by step photo tutorial along with my full Youtube tutorial below.
This photo shows all the pieces you need to cut to make this Swing Boat. I used my Collall All Purpose Glue and Cosmic Shimmer quick grab glue on these.

STEP 1
Die-cut the main stand die in heavy weight cardstock, if you have a lighter weight I would recommend die-cutting 4 pieces. Two for the front and two for the back. Snip the top off of two of them and adhere two together. Die-cut the design piece and decorate as desired.

Step 2
Add a small amount of glue to the top of one of the pieces.

Step 3
Adhere together so the square piece with the hole hangs inside.

Step 4
Die-cut two of the strips and pop a 5mm brad through the top.

Step 5
Feed the brad through the stand piece and use a piercing tool to bend the brads over. Keeping them elevated slightly from the card with ensure a good swinging movement.

Step 6
Die-cut 3 of the boat die and adhere two of them together and adhere your animals so there arms hang over the side.

Step 7
Add a small amount of glue to the ends of the strips.

Step 8
Attach the boat ensuring the end of the strips adhere to the back of the boat and not the animals.


Step 9
Adhere the other die-cut boat piece.

Step 10
Die-cut 2 of the large semi circle pieces and 2 of the smaller size in your chosen pattern paper or colours. Adhere the smaller pieces on top.

Step 11
Apply glue to the front of your front piece.

Step 12
Adhere this piece behind the stand. Make sure in’s in the centre so everything stays balanced.

Step 13
Flip the card over and add glue to the bottom of the stand.

Step 14
Adhere the back of the card so it lines up with the front.

Step 15
Die-cut the support bar and fold into a ‘M’ shape. Add glue to one end.

Step 16
Open the card and adhere to the front, along the bottom.

Step 17
Add glue to the other end.

Step 18
Close the card and allow to dry.

Step 19
Finish the card with your chosen sentiment.

Check out my tutorial below.
I hope you’ve found this all useful and enjoy the card I’ve shared today.
Happy crafting
Sam
xoxo
Disclaimer Some of the product links used are affiliated, these do not cost you extra but by using them I will receive a small % of the sales which then help me to continue bringing you great YouTube tutorials. Thank you all for your support.

You must be logged in to post a comment.