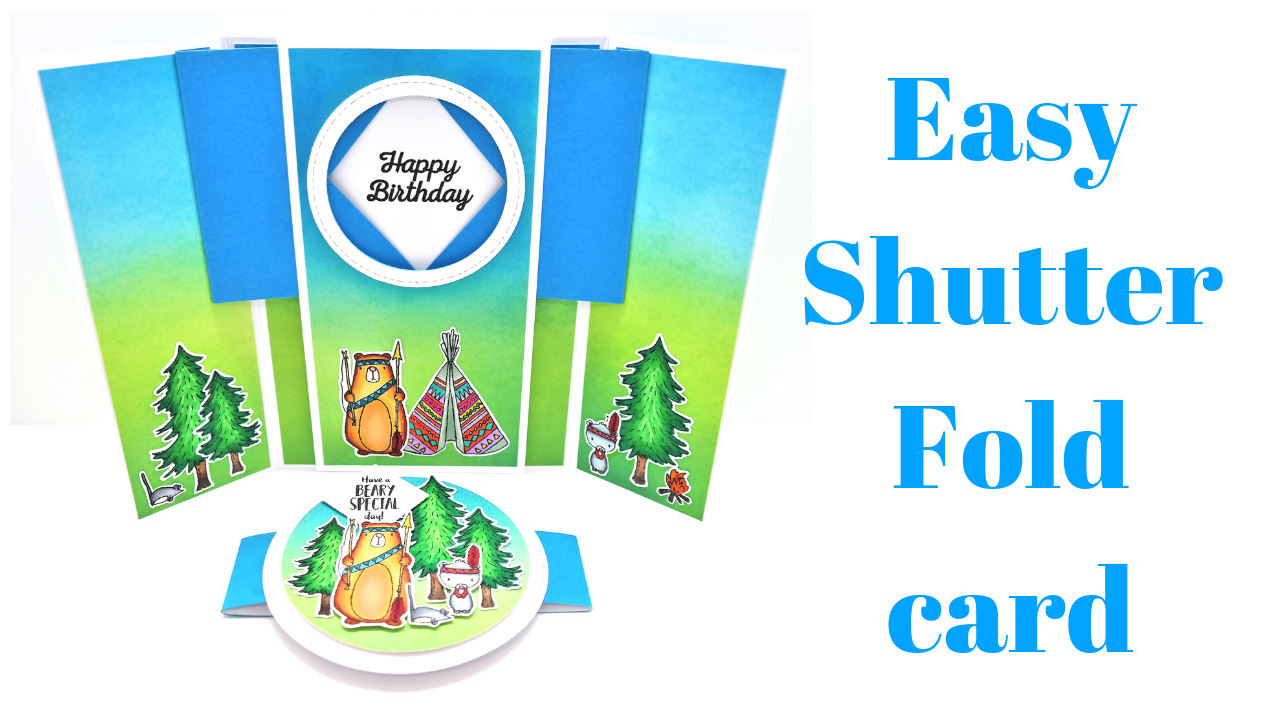
Hi everyone, today I have this fun Shutter Fold Card to share.

I’ve seen this style around for a while and I believe it was first done by Srushti Patil. I’ve had a few requests for it so I have come up with this 5″ x 7″ version and I think I’ve been able to simplify how you put it together.

I used the ‘Grand Adventure’ stamp set by ‘For The Love Of Stamps’ by Hunkydory.

This is such a cute set and very easy to colour.
I used my Tim Holtz Distress Oxide Mermaid Lagoon & Mowed Lawn.

I used the ‘Slice of Happiness’ stamp set by Hunkdory available here.

This stamp set is a forever stamp set and will never go out of fashion.

I love the fresh colours in this one.
I used the Tim Holtz Distress Oxide inks in Barn Door & Mustard Seed to create the background.

On the back, you have lots of room to stamp and write your message.

I used my favourite Woodware ‘Big Birthday Words’ stamp set available here.

To make these cards you will need…
1 piece of 10″ x 7″ white cardstock for the card base.
Score along the 10″ side at 2.1/2 & 7.1/2
4 pieces of 2.1/4 x 6.3/4 pattern paper to mat the front and inside doors of the card.
2 pieces of 4.3/4 x 6.3/4 patter paper to mat the inside middle and back of the card.
I piece 8″ x 3.1/2 of white card for the middle panel.
Score along the 8″ side at 1/2″ & 7.1/2
1 piece of 3.1/4 x 6.3/4 pattern paper to cover the middle panel.
2 pieces of 3.1/2 x 3.3/4 coloured paper for the shutter element.
Score both pieces along the 3.3/4 side at 1/2″
1 piece of 3.1/4 x 3.1/4 white card to stamp your message.
A 2.1/2 circle die for the window.
1 piece of 11″ or longer x 1.1/2 pattern paper for the belly band.
Larger 4″ & 3.1/2 circle dies for the belly band topper.
Check out my full tutorial below.
This card will work for so many occasions and can be decorated in so many ways.

Such a clever mechanism.

Thank you for stopping by.
Happy crafting.
Sam
xoxo
Disclaimer
Some of the product links used are affiliated, these do not cost you
extra but by using them I will receive a small % of the sales which then help me to continue bringing you great YouTube tutorials.
Thank you all for your support.
Sam

You must be logged in to post a comment.