
Hi everyone, I wanted to make a Halloween Mini Album this year, so I’ve created this fun one using envelopes and the new Sassy Crafting collection.

This mini-album holds 32, 6″ x 4″ photos, however, you can easily add more pages, tuck spots, and pockets.

I received the fun Sassy Crafting collection the other week, I thought it would work well for a mini-album, the pre die cuts, stamps, and dies are perfect for decorating the front and the sticker album will be great to add on the photos once I add them.
Check out the full collection here.

I made each signature using 2 envelopes and stitched each one in using strong bakers twine.
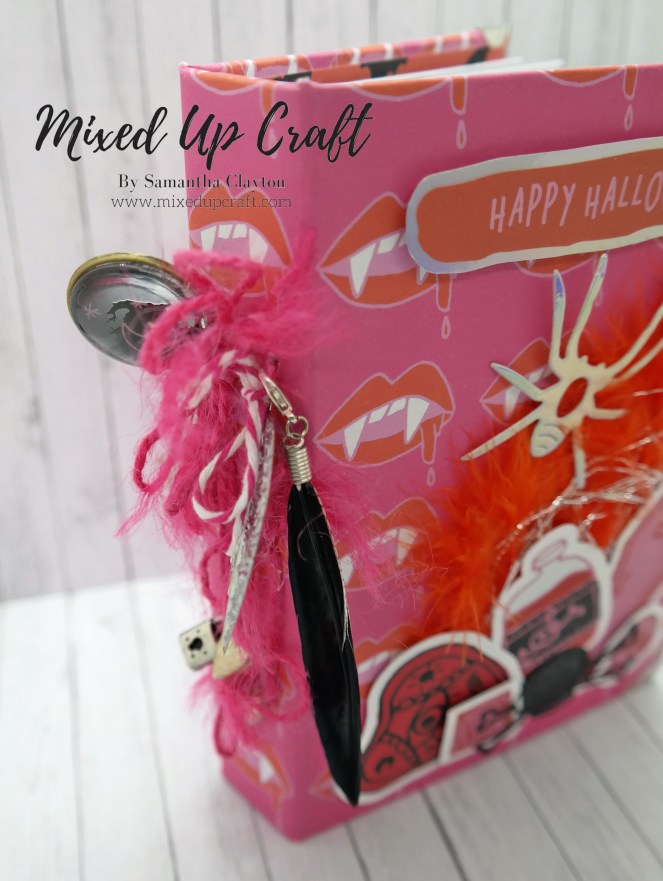
I added lots of charms and embellishments to the side to add some interest and tie everything together.

To make this album you will need…
2 pieces of 4.3/4 x 6.3/4 chipboard for the front and back of the album. Mine is from Every Crafts A Pound here.
1 piece of 1″ x 6.3/4 chipboard for the spine.
1 piece of 7.3/4 x 12″ pattern paper to cover the album.
1 piece of 6.1/2 x 10.3/4 pattern paper to cover the inside of the album.
C5 envelopes.
32 pieces of 6.1/4 x 4.1/4 coloured card to mat all of the pages.
Metal corner protectors, mine are actually 17mm ones which I got from eBay here.
Strong string to attach each signature.
I used my Screw Punch to make the holes on the spine. You can get these here.
Check out my full tutorial below.
I added little pockets on the insides of the front and back, this is optional, but it’s a good place to add more photo mats.

The cut-outs from the paper pack are perfect for journaling on or adding smaller photos.

This is a really strong album and perfect for many occasions and will make a lovely gift.

I know many of you enjoy my mini album tutorials, so I hope you give this one a go.
Happy crafting.
Sam
xoxo