Hello everyone and happy Monday.
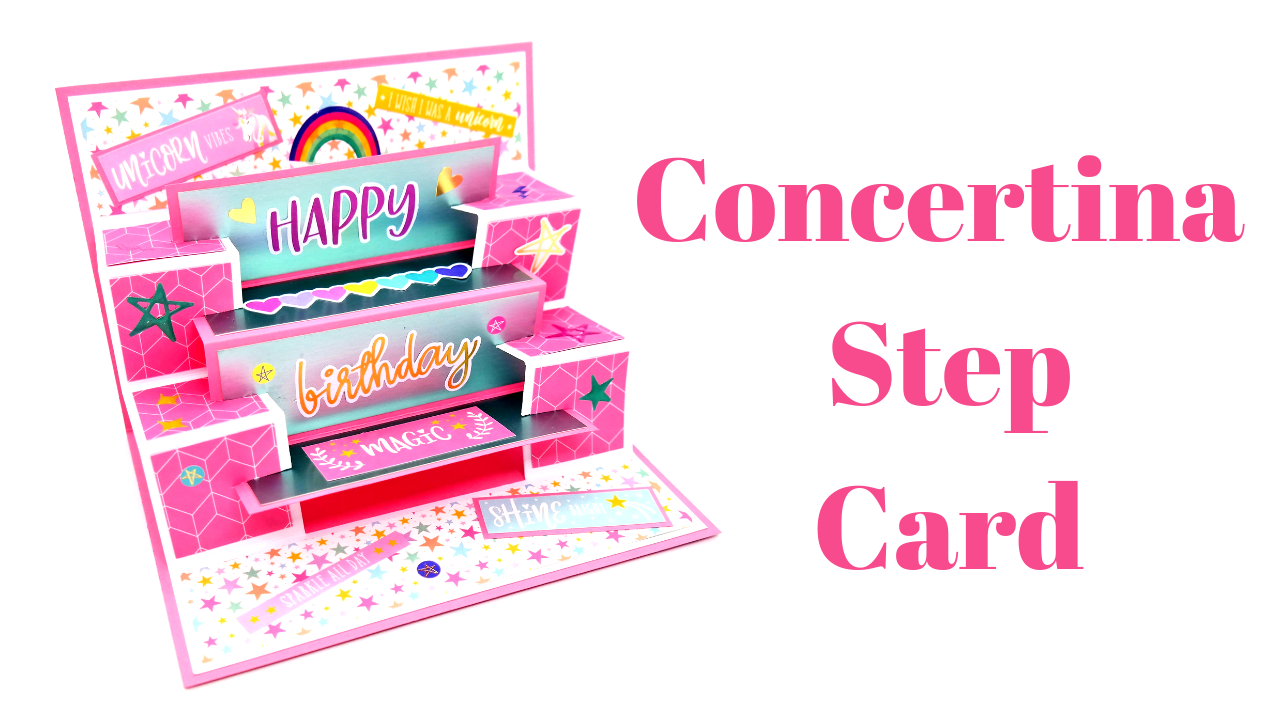
To kick start the week I have these unusual Concertina Step cards.

This is a really unique looking card and a clever twist on a standard Concertina card.

This was requested by Linda who sent me a picture last year, I get so many requests but I do try and get through them all it just takes me some time.

Most versions of this card don’t have the outer card base and I didn’t see any that were 5″ x 7″ which is my preferred card size.

The “Happy Birthday” stamp is by Woodware and available from Hobbybase.

I used the new First Edition “Chasing Rainbows” paper pack, which I love! it has so much sparkle, texture & colour.

I also used the new Dovecraft Mermaids & Unicorns pearlized cardstock. Available from Amazon.

The interlocking middle part gives the card a fun and unusual look as well as strength.

I also love that you can have this portrait or landscape.

To make these cards you will need…
1 piece of 10″ x 7″ coloured cardstock for your card base.
Score along the 10″ side at 5″ and fold in half.
1 piece of 10.1/2 x 6.3/4 white cardstock for your main concertina part.
Score along the 10.1/2 side at 1.3/4 then flip it over and score at 3.1/2, then flip over again and score at 5.1/4 then flip over again and score at 7″ and finally flip over again and score at 8.3/4. By flipping your cardstock over each time your card won’t crack when we do the concertina folding.
Then score along 6.3/4 side at 1.3/4 & 5″ starting from the first score line down to the last. As shown in my template below.

1 piece of 4.3/4 x 7″ coloured cardstock for your smaller inlocking concertina part. Score along the 7″ side at 1.3/4 then flip over the card and score at 3.1/2 then flip it back over again and score at 5.1/4
2 pieces of 1.1/2 x 6.1/2 pattern paper to decorate to two inside panels.
8 pieces of 1.1/2 x 1.1/2 pattern paper to decorate your eight small square.
4 piece of 1.1/2 x 4.1/2 patterned paper to decorate the four inside middle panels.
1 piece of 6.3/4 x 4.3/4 pattern paper to mat the front of your card.
1 piece of 6.1/2 x 4.1/2 pattern paper to layer on top of your mat.
Embellishments, die cuts and stamps to decorate your card.
Check out my full tutorial below to see how I made them.
The cards fold flat and will fit in a standard 5″ x 7″ envelope.

You can either find space inside to write your message or use the back as I did below.

There are so many panels to this card which makes it a good one to personalise.

I just love the profile you get from this card.

Such a happy looking card.

I hope you like today’s card and you feel inspired to give it a go yourself.
Remember to share any projects to make inspired by my tutorials over on my Facebook group Mixed Up Crafters.
Happy crafting.
Sam
xoxo

You must be logged in to post a comment.